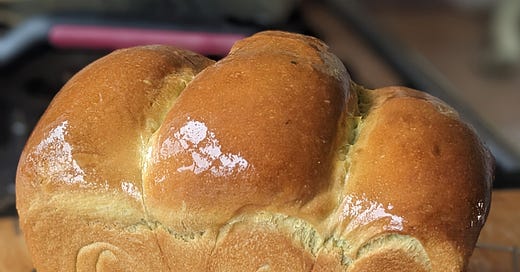
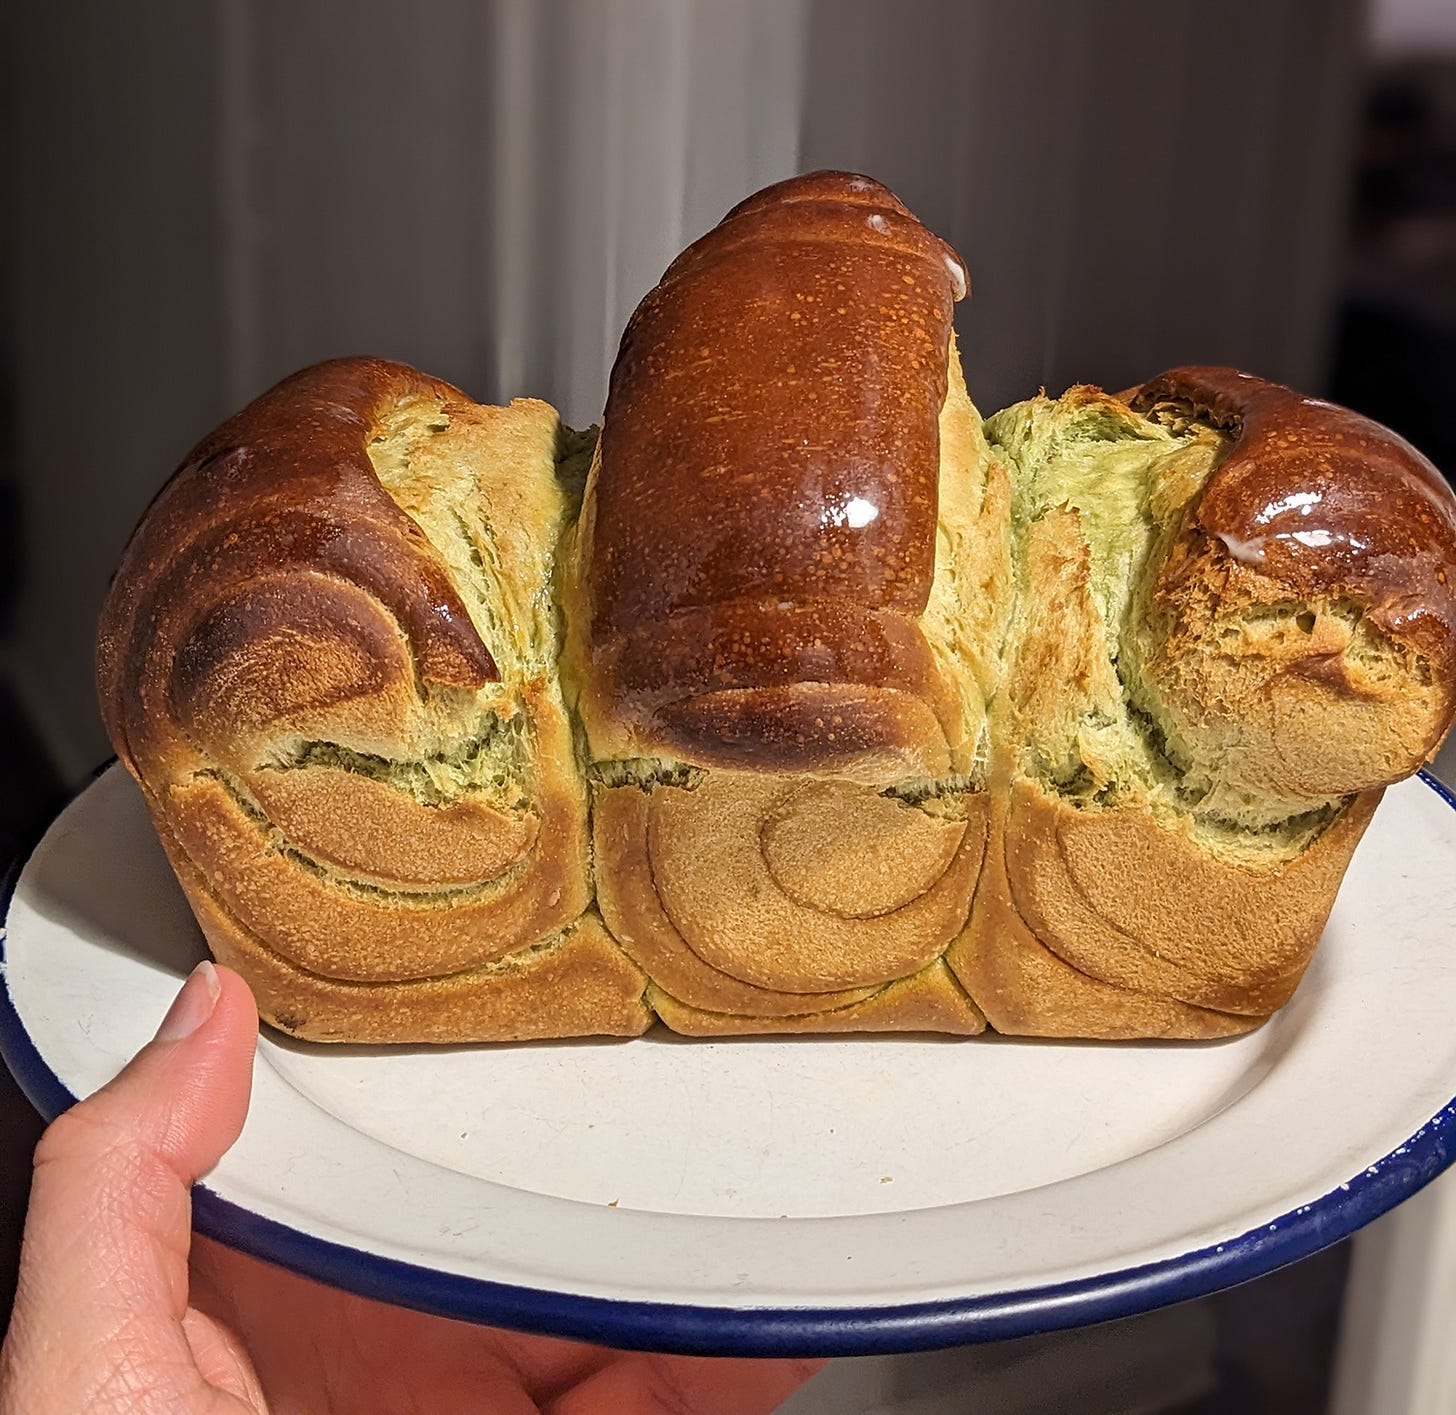
Taking a short break from 5-Ingredient Recipes today but it’s all for a good cause. I got it in my head that I wanted to make a wild garlic bread or soft roll to have with soup, and once I thought of Shokupan I couldn’t stop. Shokupan, or Japanese milk bread, is a delicate white bread that has something of brioche about it, because butter is kneaded through it making it super soft and slightly sweet. Here, we put wild garlic juice in with our yeast and sugar to ferment and it makes the whole process a lot more vibrant and even more tasty. This is a treat to make and a treat to eat, hope you will enjoy Mr Shokupan.
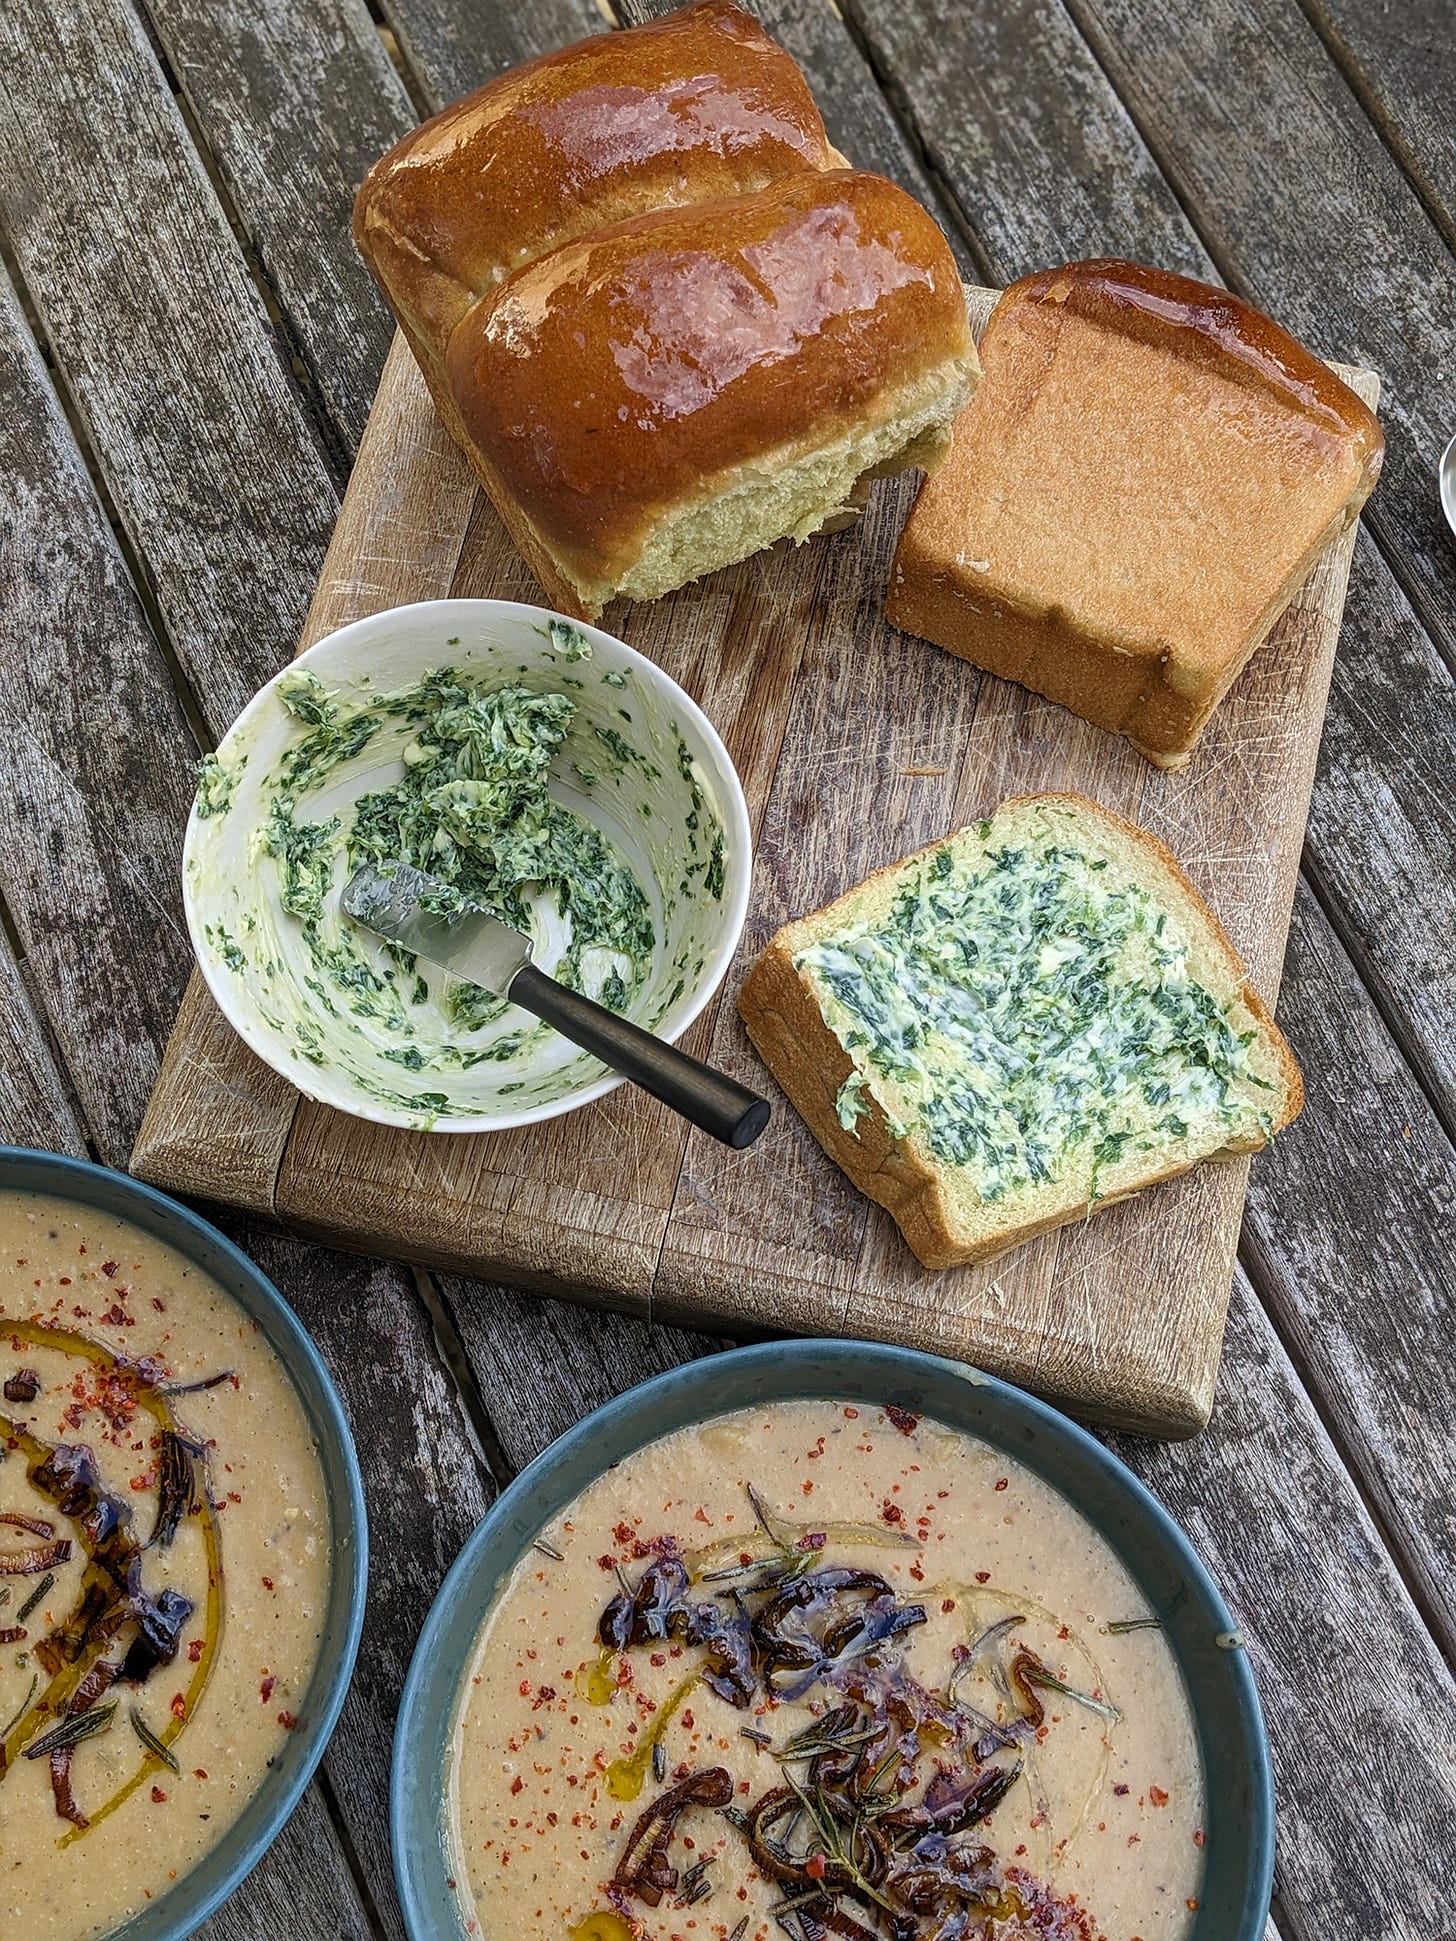
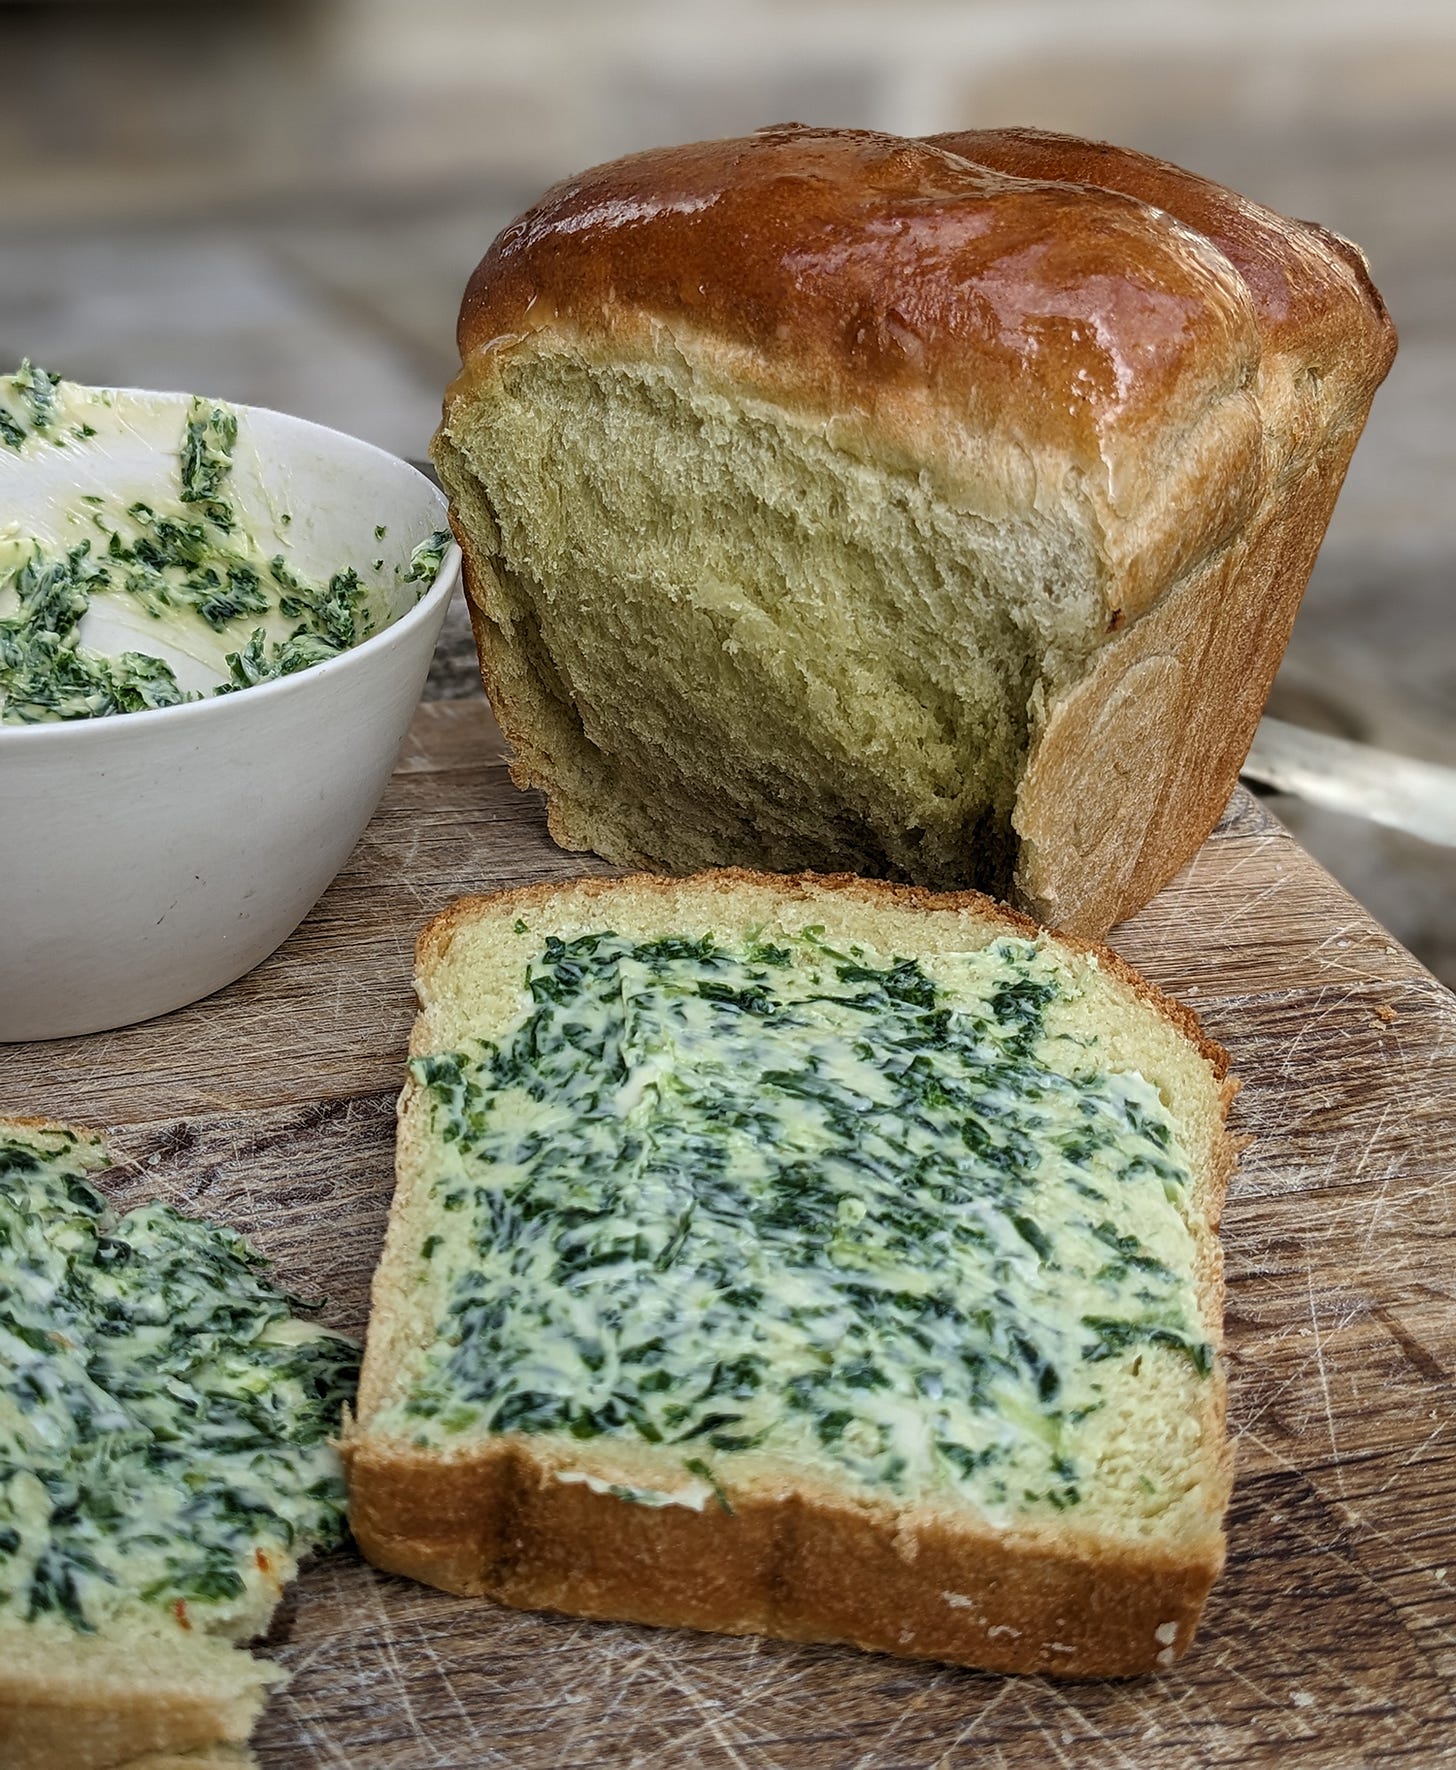
Wild garlic will be around for another month at least and making the wild garlic juice for this Shokupan is good for two reasons. 1) You get the most vibrant green with no ‘bits’. 2) You get to basically use the garlic twice, once in juice form and then you can use the debris leftover in a wild garlic butter to serve with the bread (just beat in butter and salt to your desired consistency). Or in a pesto, my wild garlic spanakopita, or a saag of course.
I’m no scientist, but I guess blending the garlic kind of breaks down its cell walls, making it easier to squeeze out the juice. Plus it makes you feel powerful doing it by hand! Sure, it might stain your paws a Shrek hued green for a short while, but that never hurt anyone.
I love the subtly garlicky flavour of this bread, and with the wild garlic butter it’s a match made in heaven, and a great pairing for soup, or vehicle for a sandwich or scrambled egg for breakfast. In my research for this recipe I came across a lot of intensely strict rules, which always scares me, but this really needn’t be an intimidating bake. Think of the bread just like any other loaf, just with the addition of butter (as in brioche or hot cross buns) and a slightly elaborate shaping technique.
I’ve tested the Shokupan with both milk and skim milk powder. The loaf made with milk powder was greener and ever-so-slightly softer, but it was also the loaf that exploded because I made other mistakes… My point is: you can use milk or milk powder, so long as you carefully follow the recipe, it’ll be lovely, so use what you have. I bought my skim milk powder from a local Londis (bottom shelf) near the coffees etc.
I’ve also tested kneading by hand and in my standmixer so there are instructions for both below.
Wild Garlic Shokupan
Makes one small loaf, or enough for 4 people (the tin is about 15cm x 10cm - slightly bigger is okay). Ideally your tin would be aluminium but non-stick is not a huge deal.
60g wild garlic juice (instructions below)
80g warm milk OR 15g skim milk powder and up the warm water below to 115g
35g warm water
250g strong white bread flour
25g unsalted butter at room temperature, cubed
5g instant yeast
25g caster sugar (raw or white is fine)
4g flaky salt (or 2g fine salt)
Make the wild garlic juice by blending up 3 large handfuls of wild garlic until coarsely blended and wringing it out with your hands until you have 60g worth of juice. You may need to sieve the juice after to get rid of any fibres that fall in. Smooth juice is the aim.
Next, mix the warm water (and milk if not using powder) with the wild garlic juice, sugar, salt and yeast. Leave it somewhere warm until it foams. (If it doesn’t foam then your yeast is dead and I’m so sorry to be the one to tell you this). Mix the flour with the milk powder (if using), then add the liquid mix (once foamy) into the flour and stir to combine fully.
Now it’s kneading time. First, knead vigorously to really bring the dough together. It might seem like it’s dry at first but it becomes smooth and pliable after a short while, I promise. Knead like this for 3 minutes. Now knead a little less energetically for a further 8 minutes to really work the gluten. It’s tiring, but the dough shouldn’t feel heavy at least, so let’s be grateful for that. Who needs exercise? (If you have a standmixer, mix on high (or setting 6) for 2 minutes and then on medium (or speed setting 4) for 6 minutes.)
When the dough is looking nicely stretchy, and you almost hate it because you’ve been kneading it for so long, add the cubed butter and knead that in until it’s glossy and nice (about another 5 minutes). Now check for the ‘window pane test’ which is a weird way of saying: check you can stretch the dough out thinly with your fingers and that it stretches and does not tear. If it tears, keep kneading.
Now we need to ‘slap and fold’ our stretchy ball of dough to get it to firm up. Do this by picking it up from one side and throwing it on the counter then folding it on top of itself, away from you. Turn it 15 minutes on the clock and go again. Do this 4 times and you’ll notice it become nice and taut. Oil a large bowl and place your taut ball of dough in there, covered with clingfilm and allow to rise for about an hour until it’s more than doubled in size (you can leave it longer if it’s cold).
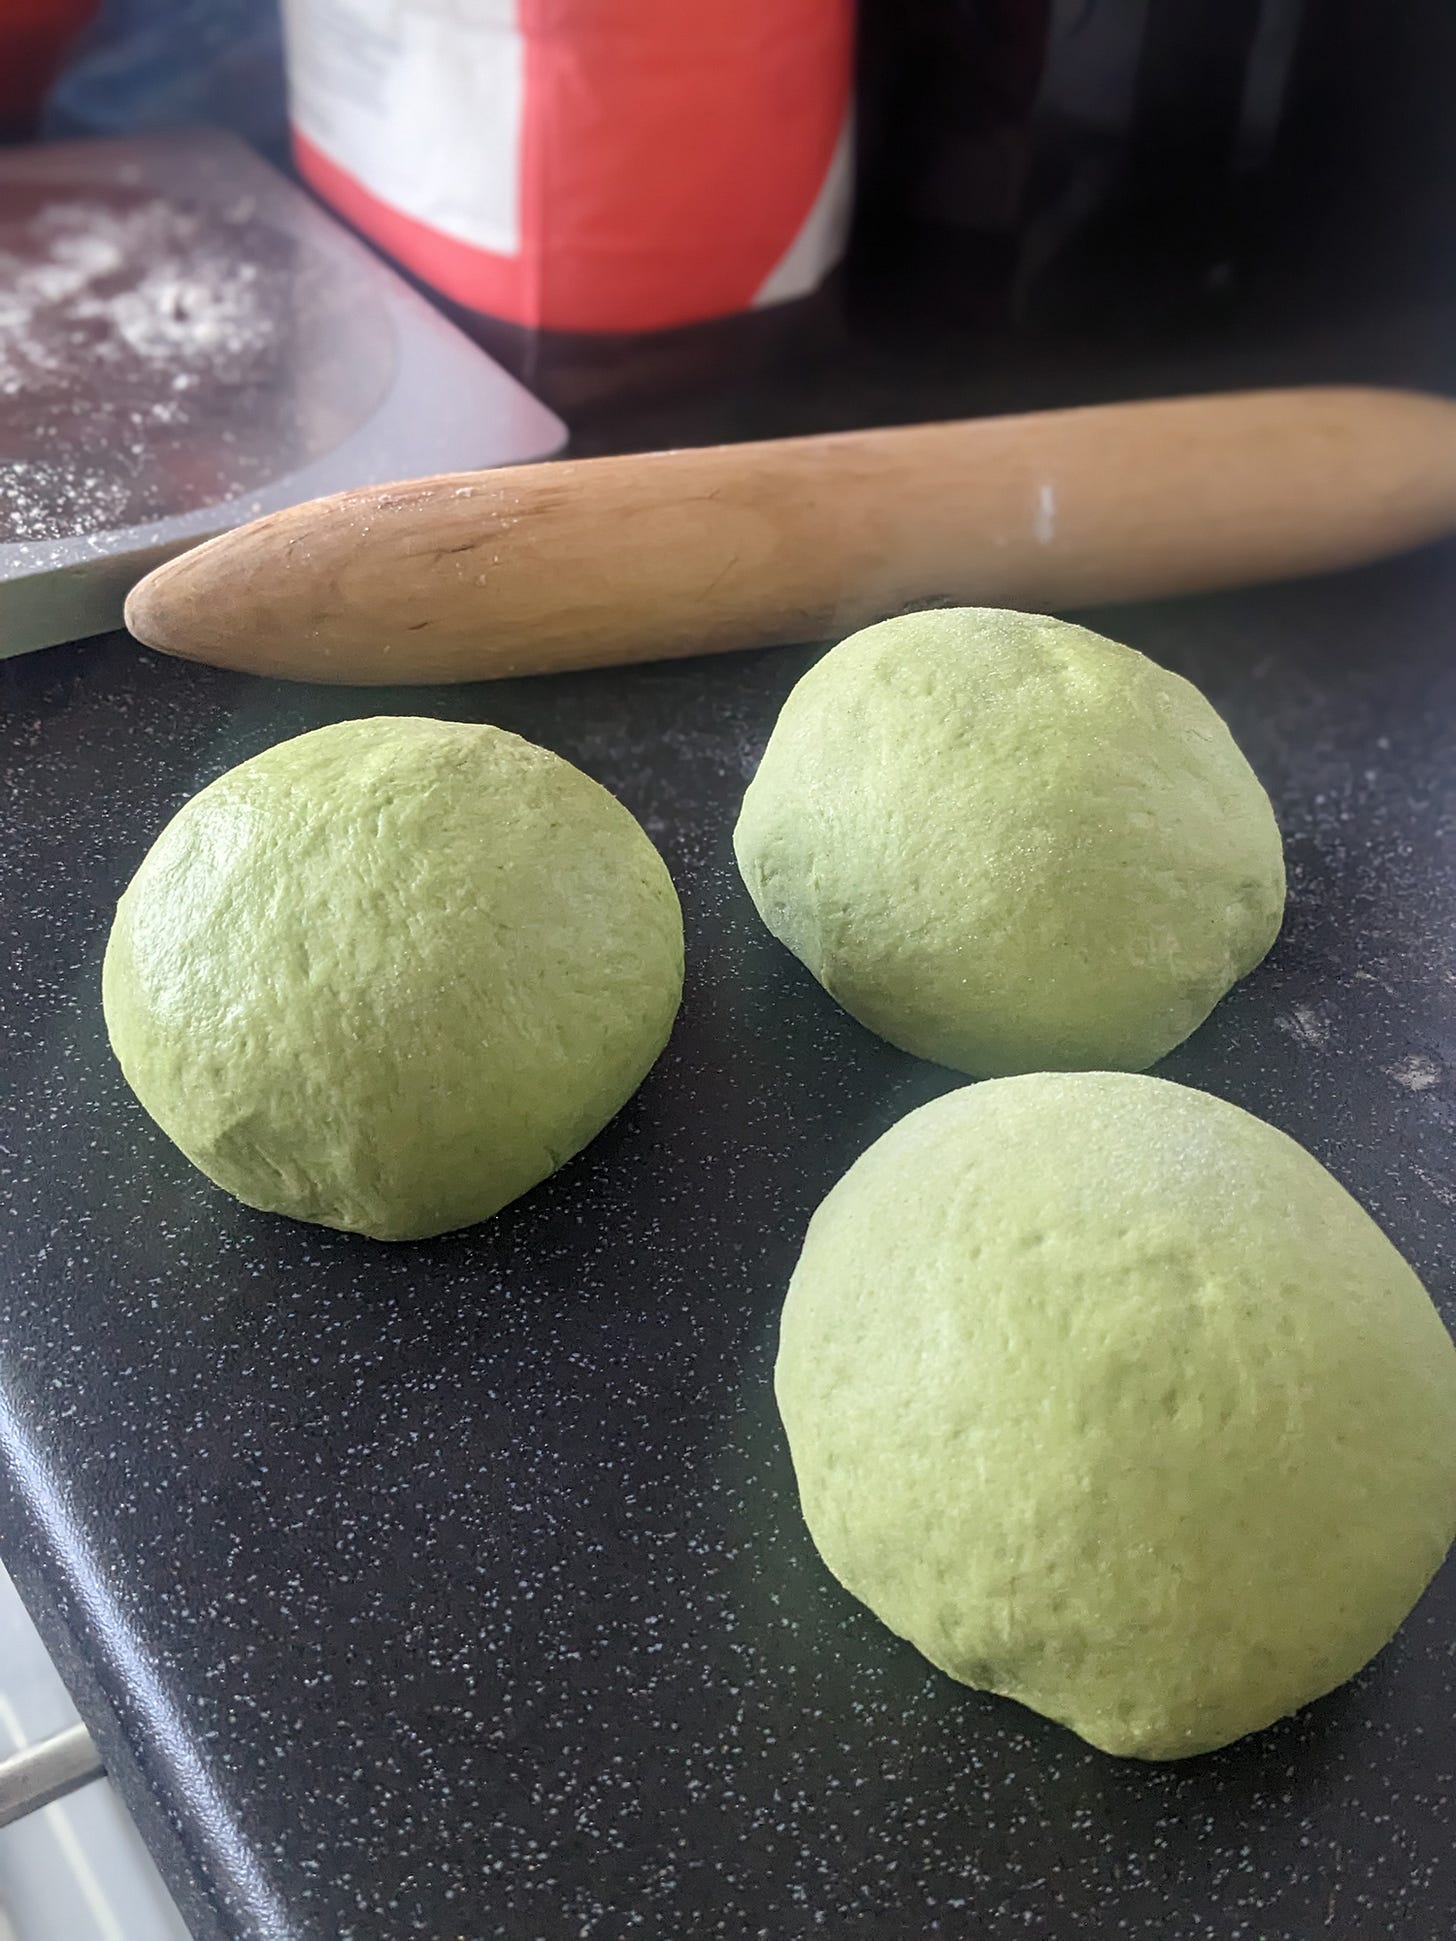
Finally, it’s time to divide the dough into 3 pieces, and ball them up for a final prove. I used a dough scraper to divide them and you can weigh the balls to make them even if you want. If you’ve ever made pizzas, you need to get the balls to be taught and smooth on top, just like with pizza. Use the friction created by the tacky dough and the counter top with the smooth surface of the dough in the palm of your hand, and jiggle it like you’re checking a gear stick on a car, until it’s completely round and smooth. Once smooth, check the bottom and pinch and seal it together if there are any gaps at the seam. Repeat for all 3 balls and leave to rise for 15 minutes under a tea towel. Butter your loaf tin generously.
Finally, we need to roll out each ball and roll it up into a spiral sausage. Take each ball and roll it with a rolling pin once away from you, and once towards you. Turn it 15 minutes on the clock and do the same again. It will be like an oval now, and you need to make the edges square so fold in the round sides to turn your oval into a rectangle. Roll the shape out focussing on the corners so that it’s approx 25cm long. Have the rectangle it vertical in from of you. Now fold the dough in, first from the left, then from the right with the seal slightly past the centre line. Seal where the dough meets and firmly tap to make the dough more even.
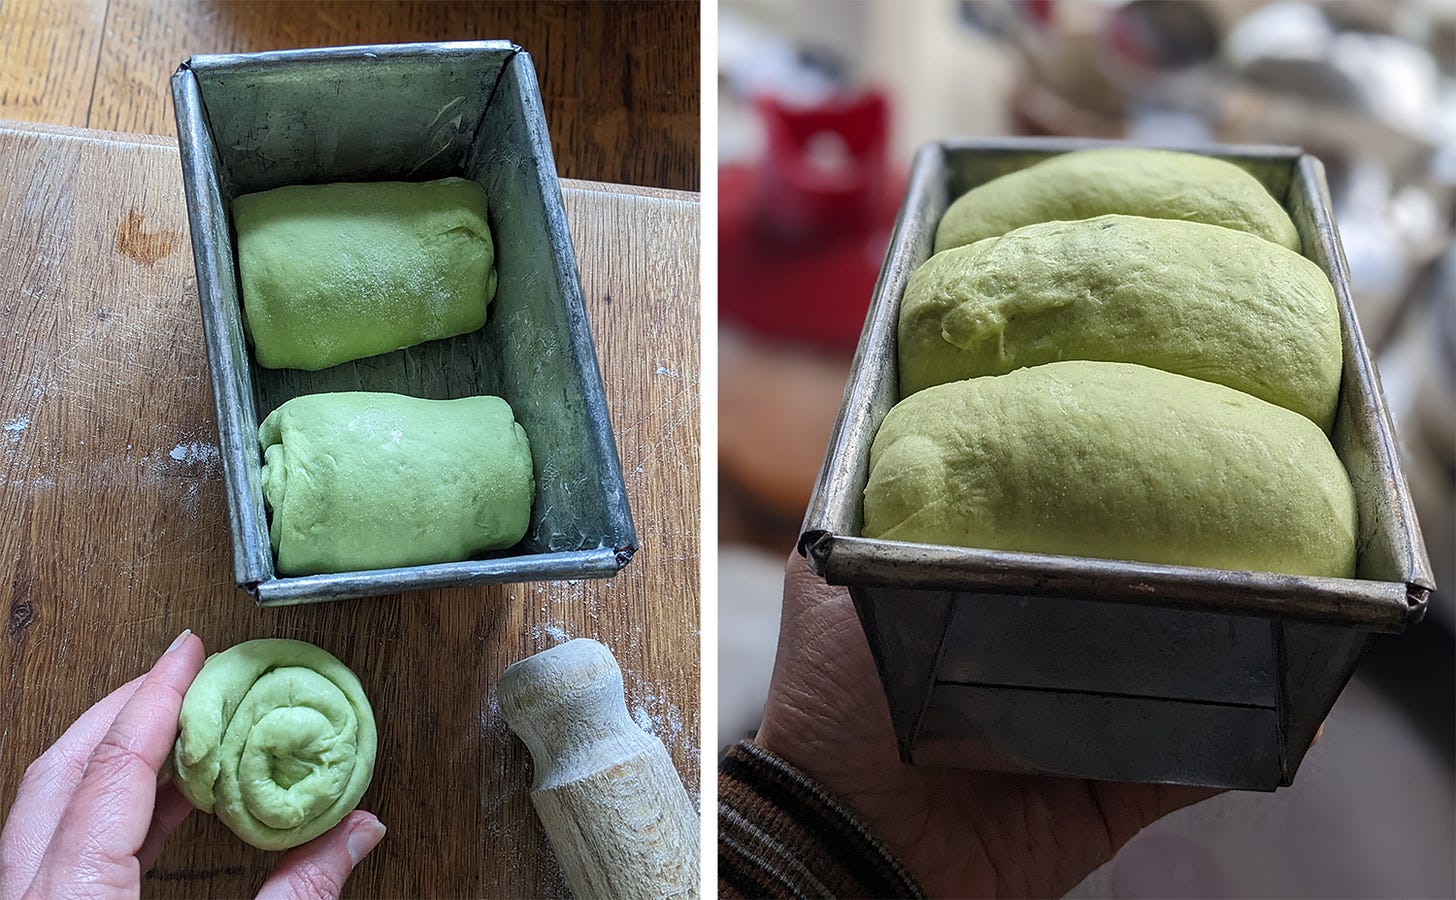
Now fold down the two top corners of the dough down in on itself like you’re wrapping a present (ie. fold down both the left and right corner in to the middle so you’re left with a triangle). Firmly roll the dough towards you and pinch the edges to seal the bottom. They should look like this:
Place the rolls in the loaf tin, placing the first seal-side down one the top edge of the tin making sure the direction of the swirl goes towards the centre of the pan. This is really important because if the seal is not on the bottom it might rise up and mean the bread explodes like this:
Repeat with the second roll and place that at the bottom with the direction of its swirl again going towards the centre. Finally, place the final roll in between the first two, the direction of its swirl can go either way. Press down to encourage an even shape of the rolls.
Cover the tin with cling film and leave to rise again for 45 minutes to an hour until the dough is touching the clingfilm. Meanwhile, heat your oven to 190°c. Bake the Shokupan for 30 minutes or until brown on top and hollow when you tap it.
When it’s cooked, remove from the oven and ‘shock’ the bread by dropping it on the counter from about 20cm height. This removes any steam that would deflate the bread. Turn the tin on its side and the loaf should easily come right out. Allow to cool then brush with a beaten egg or butter to make it shiny and beautiful and enjoy in a few hours time or the next day (it’s difficult to slice without it having a rest). You can pull the rolls apart which is very satisfying and then slice the bread. Store leftovers wrapped in a plastic bag, they’ll keep for a couple of days, and the bread toasts very well.
This week I was a guest on one of my favourite food podcasts, Lecker, made by the talented and excellent Lucy Dearlove. The current series is about breakfast, so Lucy came to my flat and we ate some 3pm snack versions of my favourite breakfast foods. Soft boiled eggs with gomasio and soldiers, and fried plantain and tomato with cheesy Staffordshire oatcakes.

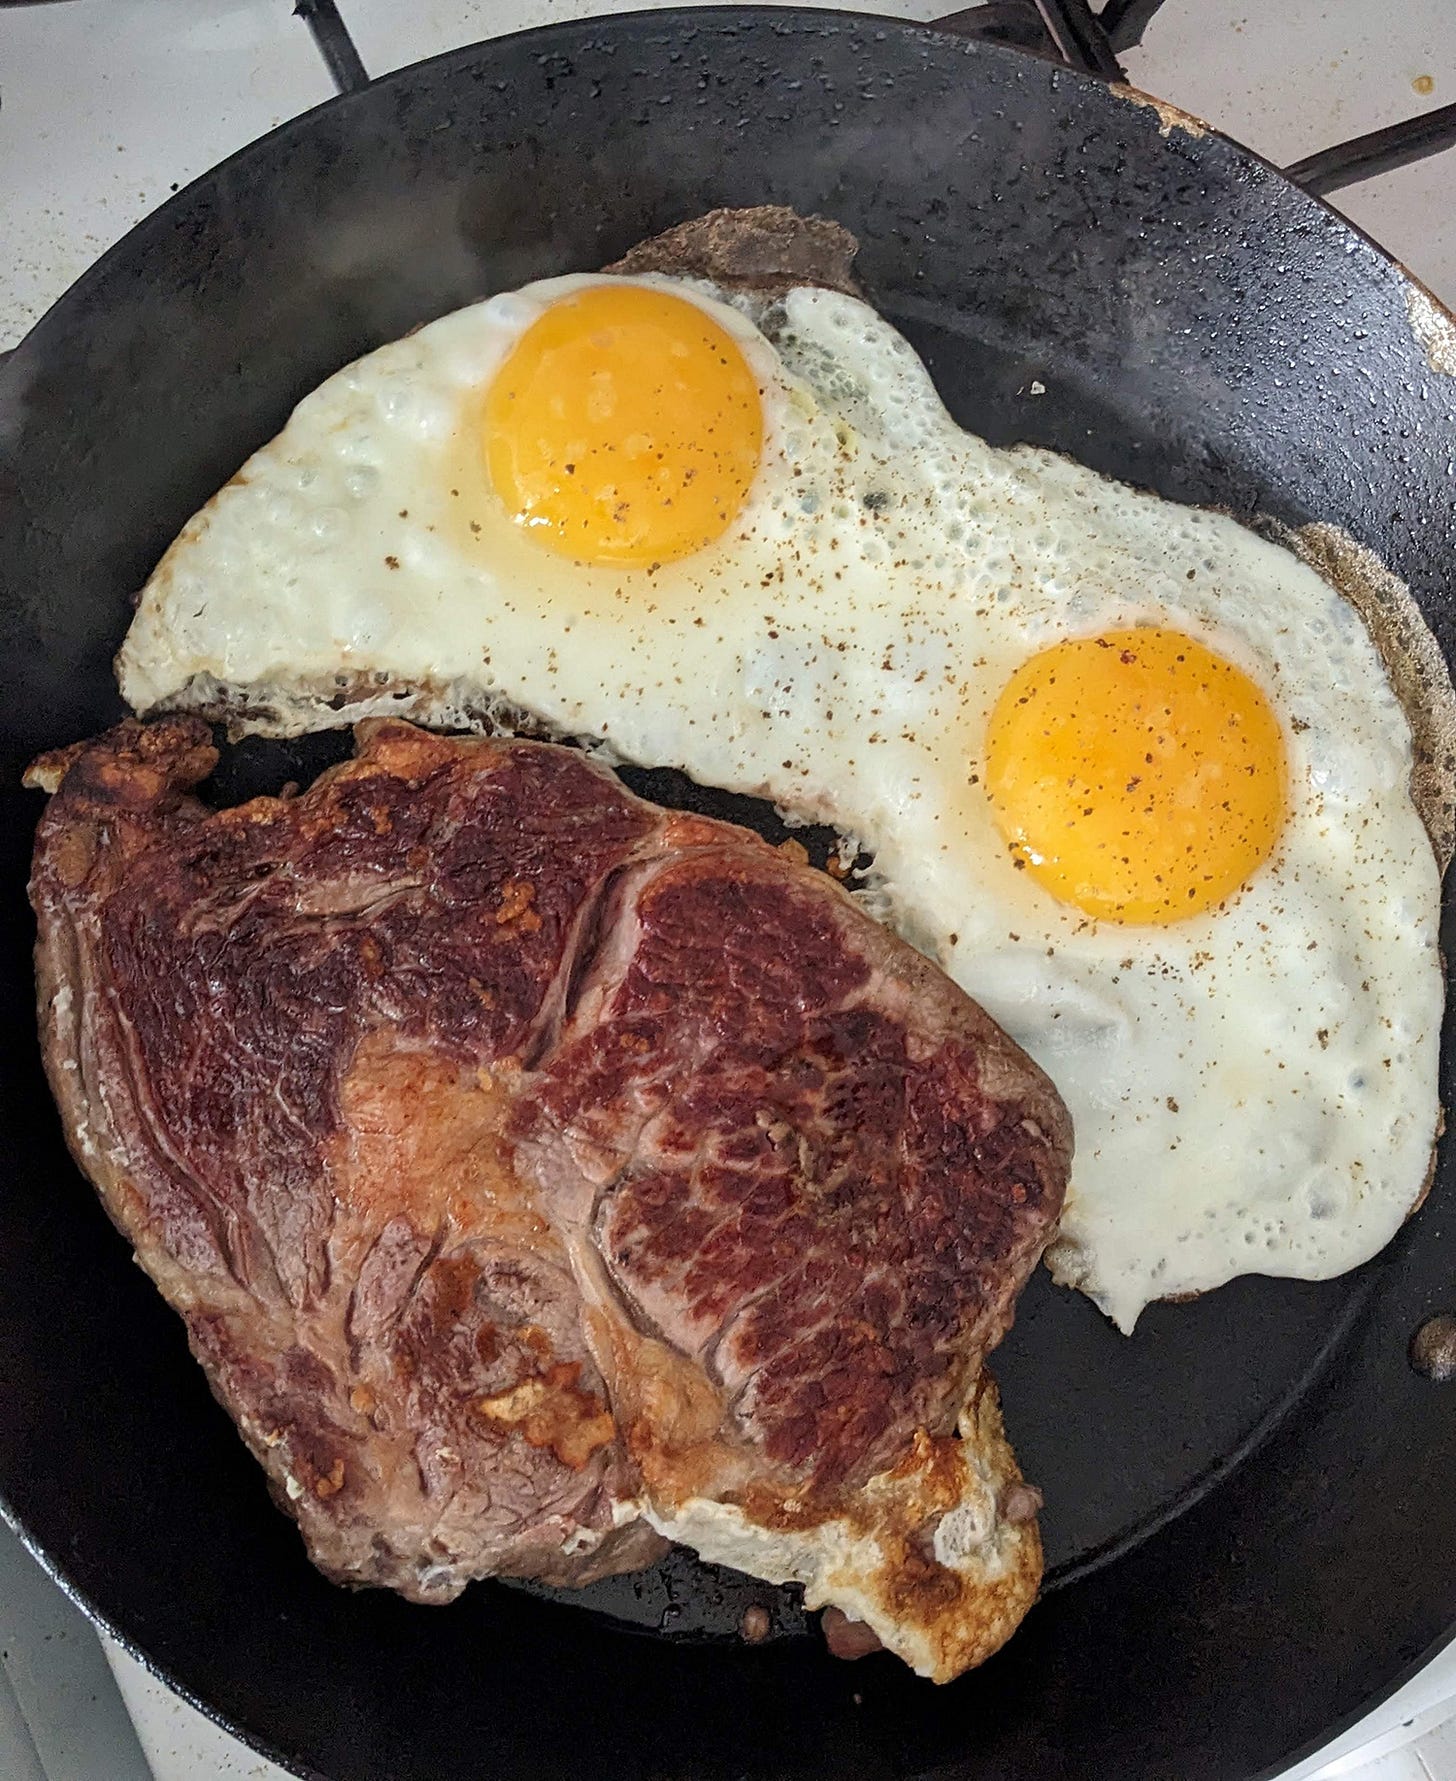
We talked about breakfasts I’m proud of and not so proud of, and I have been taking breakfast a lot more seriously since. I’m afraid I still haven’t come up with a weekday breakfast I can say is “the one” but I can tell you that I ate steak and eggs for Saturday breakfast yesterday in honour of Lucy.
You can listen to the episode here. I highly recommend becoming a patron because there is loads of really great listening on there, and following Lecker on Instagram. Thank you so much for having me Lucy, it was an honor!
See you later in the month for another 5-Ingredient Recipe.

